

Quick start
- Create your account at control-hosting.echoauth.dev/register
- Redeem your license on the Store page to add credits
- Create a server — pick a runtime, name it, confirm
- Upload your bot files and set the startup variables
- Start the server and test your webhook
- A license code (from a checkout email after buying hosting time)
- Your bot’s code — a Node.js
index.jsor a Pythonapp.py, plus a Pythonrequirements.txtif you have dependencies
Create your account
Go to control-hosting.echoauth.dev/register, create an account, and log in. You land on the Dashboard, which shows your server count and credit balance.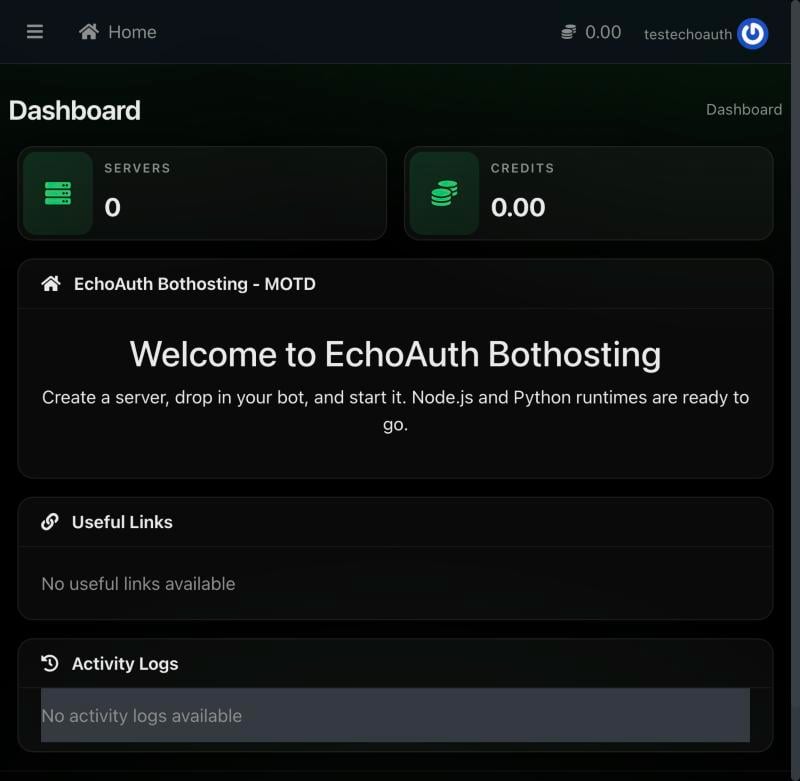
The dashboard right after logging in: 0 servers, 0 credits.
Redeem your license
Open Store in the sidebar, then click Redeem code and enter your license code.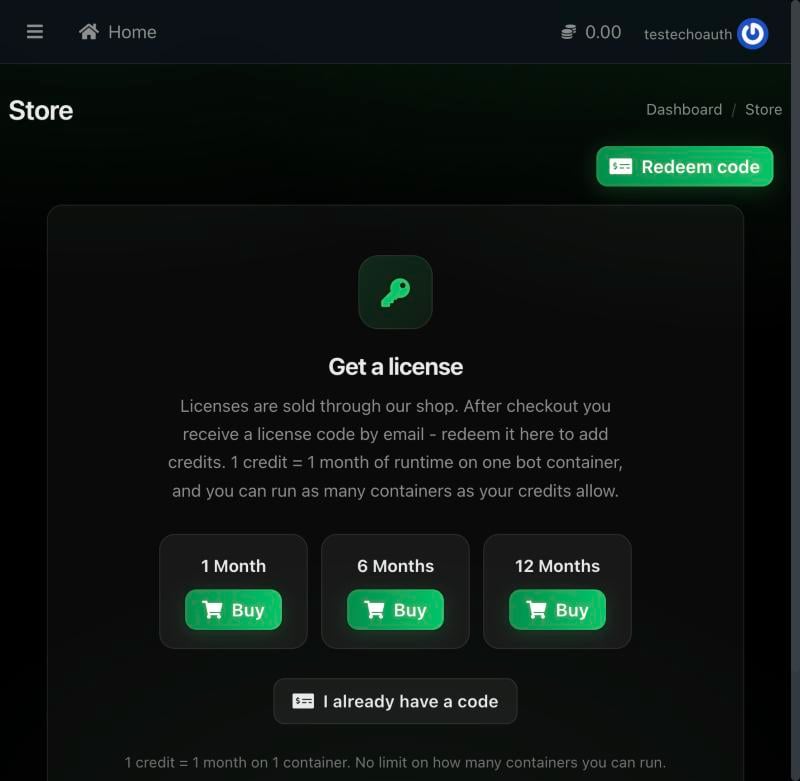
The Store page, with the Redeem code button and the 1 credit = 1 month pricing.
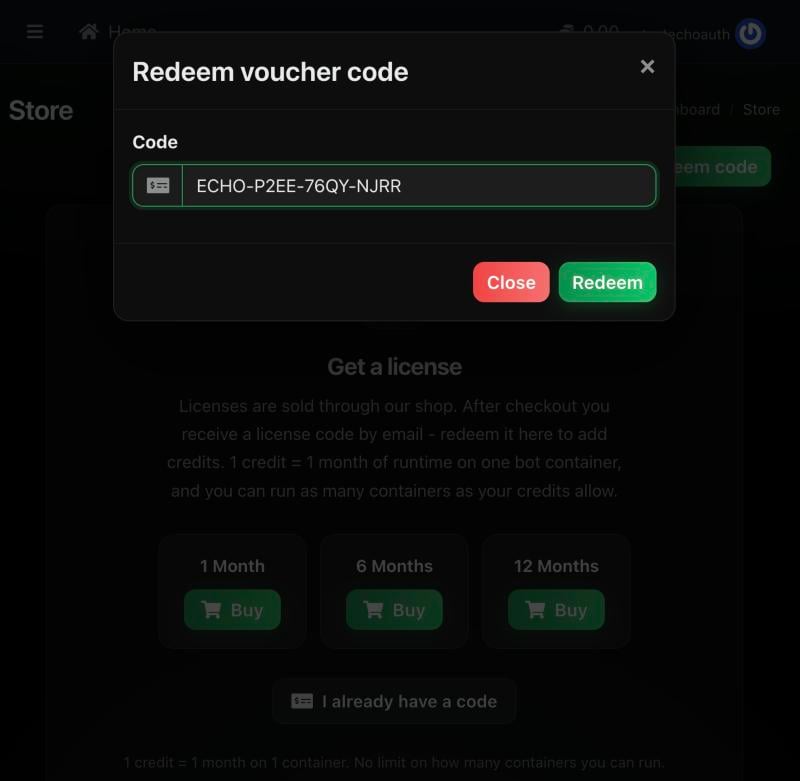
A license code entered in the Redeem voucher code dialog.
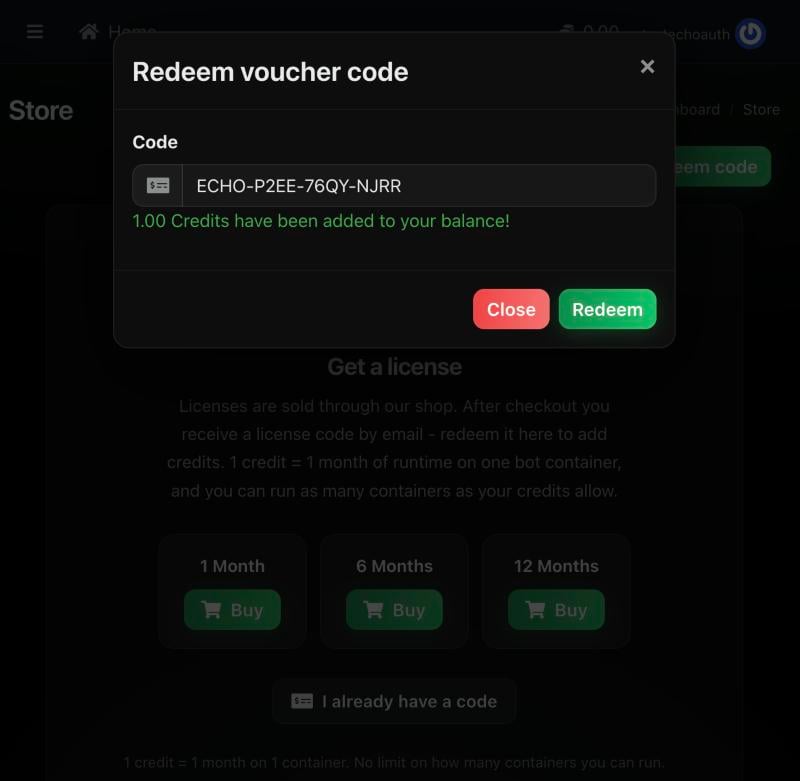
A successful redemption adds the credit to your balance right away.
Create a server
Go to Servers and click Create Server. Give it a name and pick a Language — Node.js or Python. The location and resource plan (the Bot Container product: 0.3 vCPU, 256 MB RAM, 512 MB disk, 1 backup, 1 port, 1 credit/month) fill in automatically.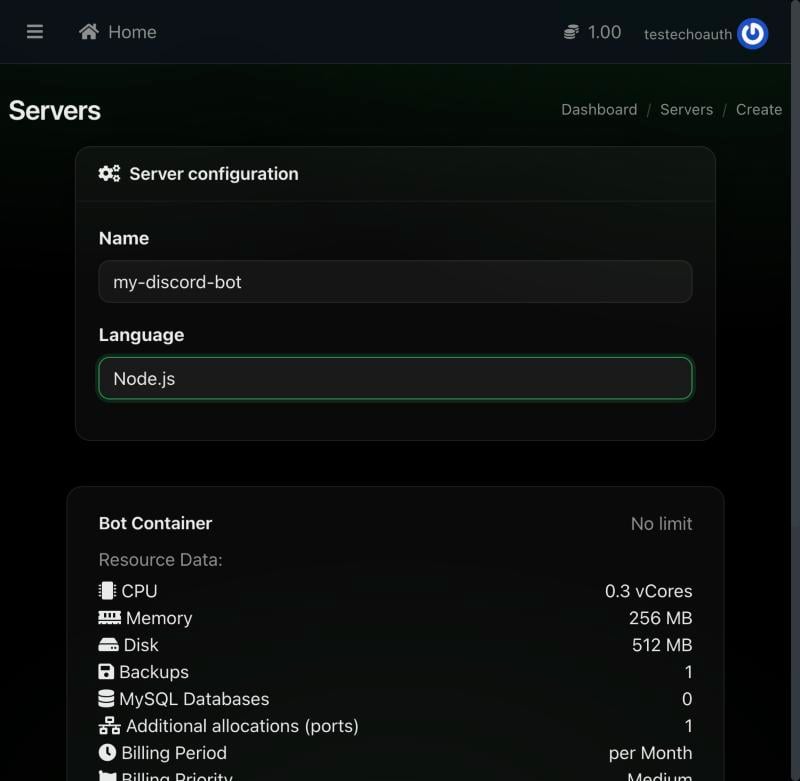
The create-server form with Node.js selected, showing the Bot Container resource plan and price.
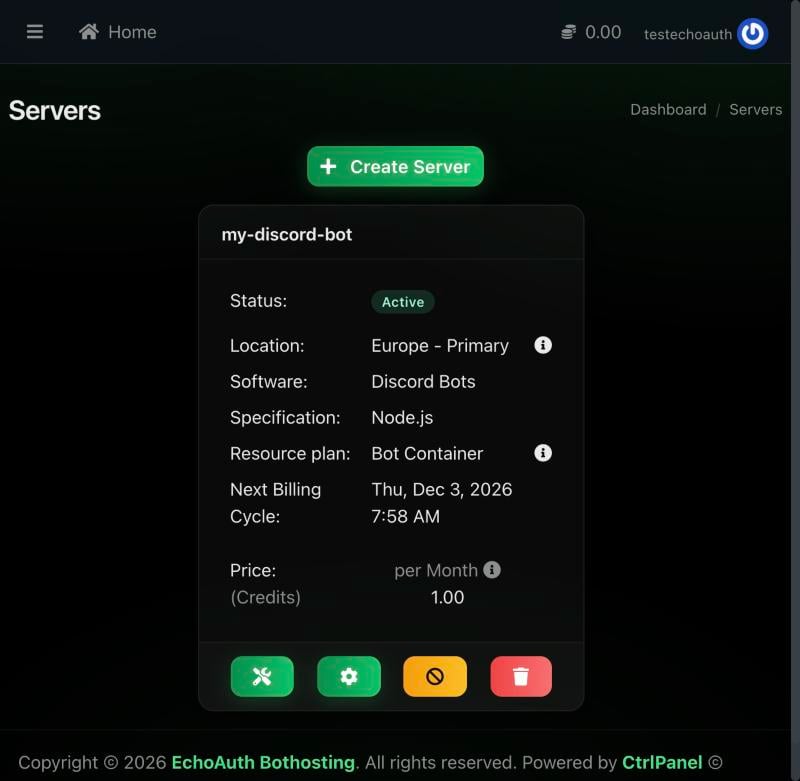
The new server, active and billed at 1.00 credit per month.
Tour the control panel
Click the wrench icon on a server card to open it in the control panel at controlpanel.echoauth.dev. The panel has Console, Files, Databases, Schedules, Users, Backups, Network, Startup, Settings and Activity tabs.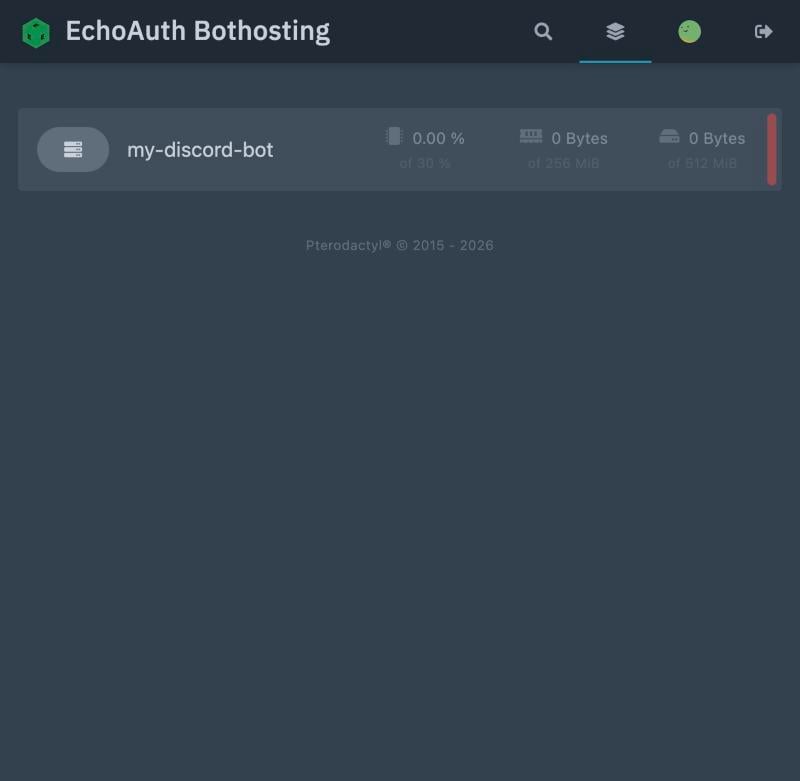
The control panel's server list after opening it from the dashboard.
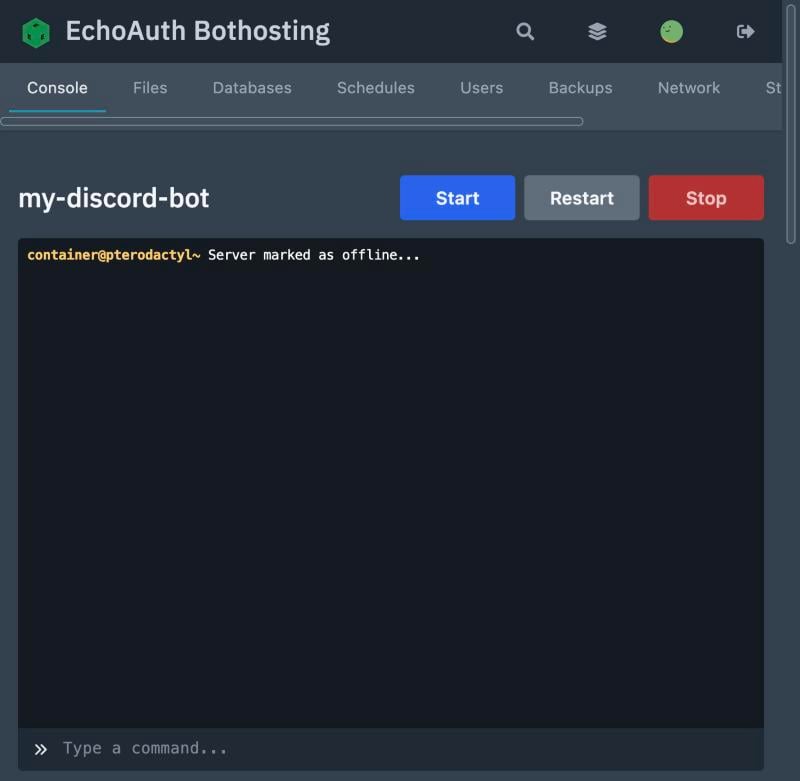
Console tab on a server that hasn't been started yet.
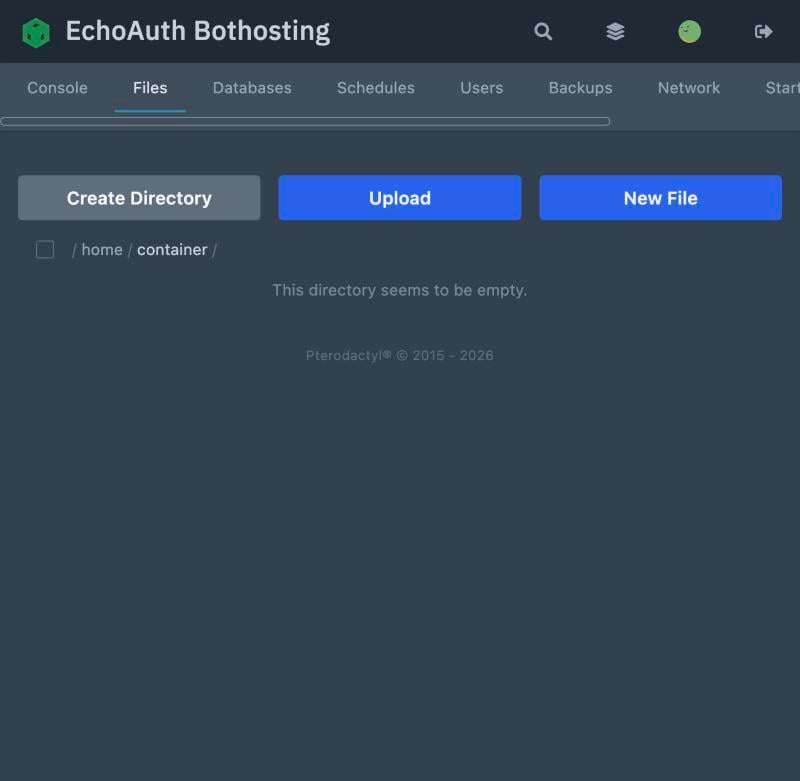
The file manager on a freshly created server.
Upload your bot files
Open the Startup tab first to see what your runtime expects.- Node.js
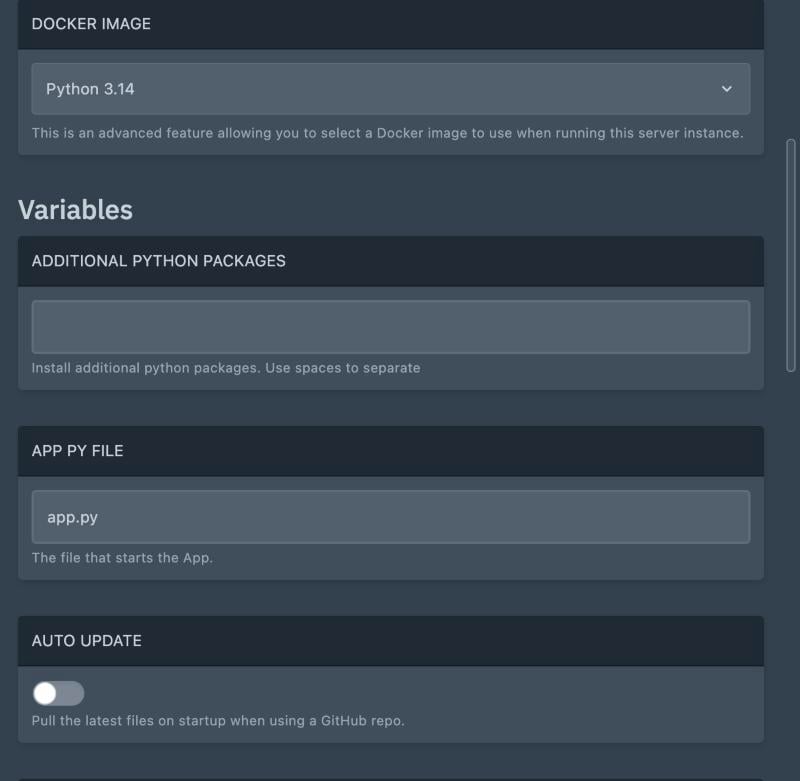
- Python
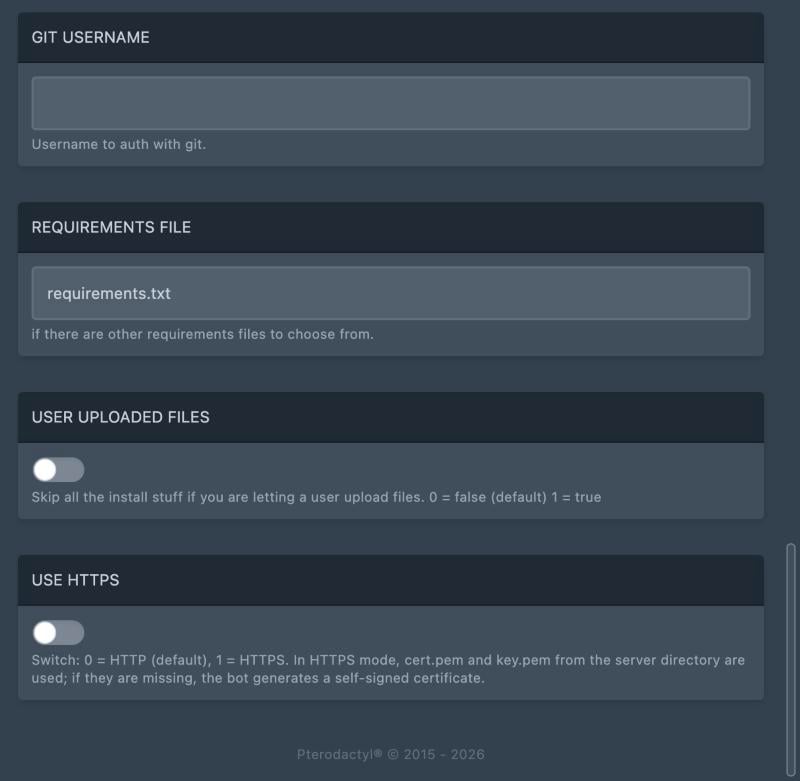
${MAIN_FILE} from /home/container. The Main File variable defaults to index.js — if your entry file has a different name, update this variable to match it (it can be .js or .ts).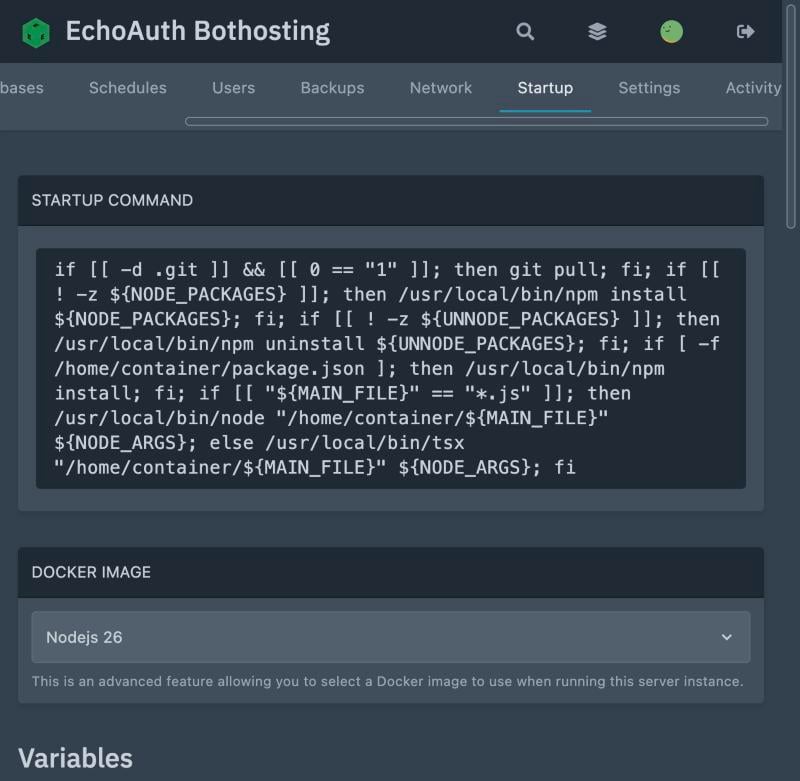
Node.js startup command and Docker image selector.
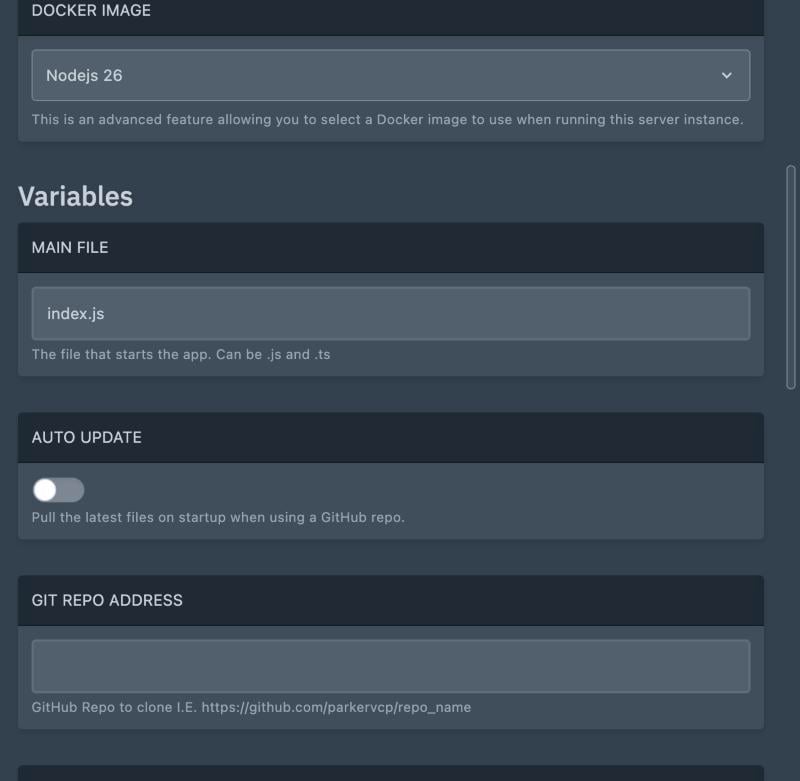
The Main File variable, defaulting to index.js.
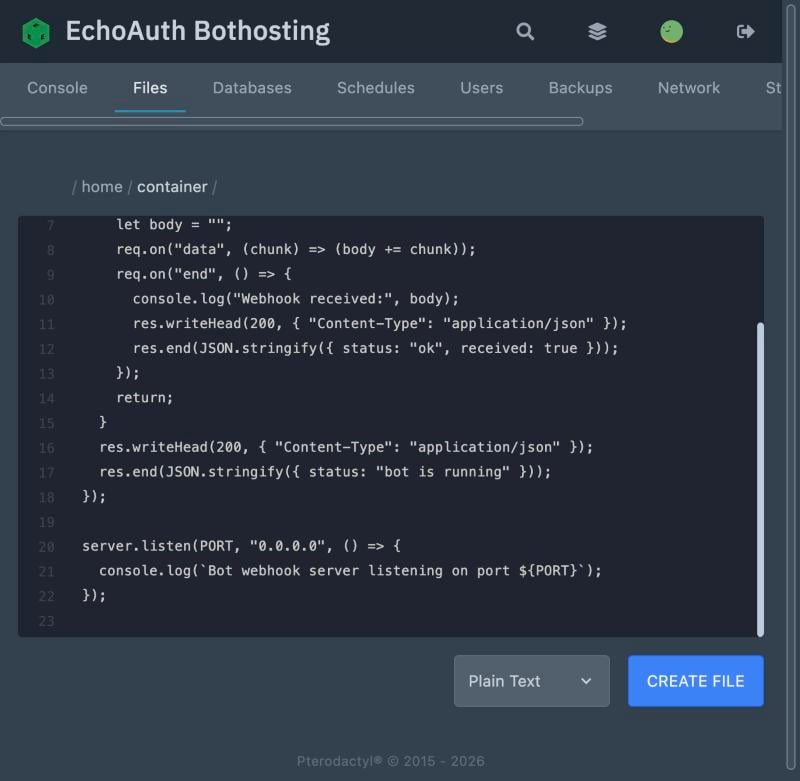
Writing bot code directly in the panel's file editor.
- Node.js
- Python
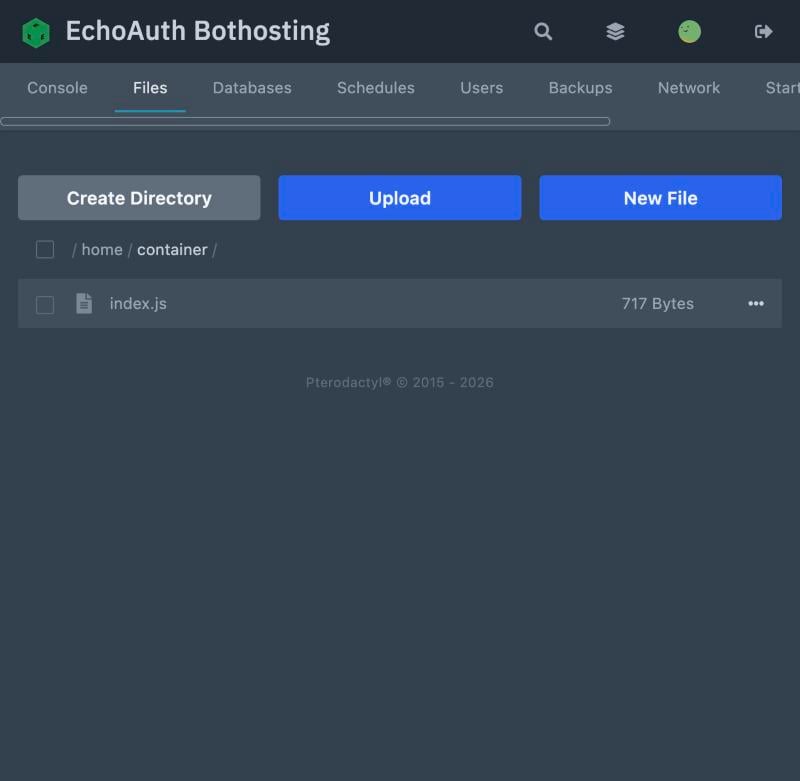
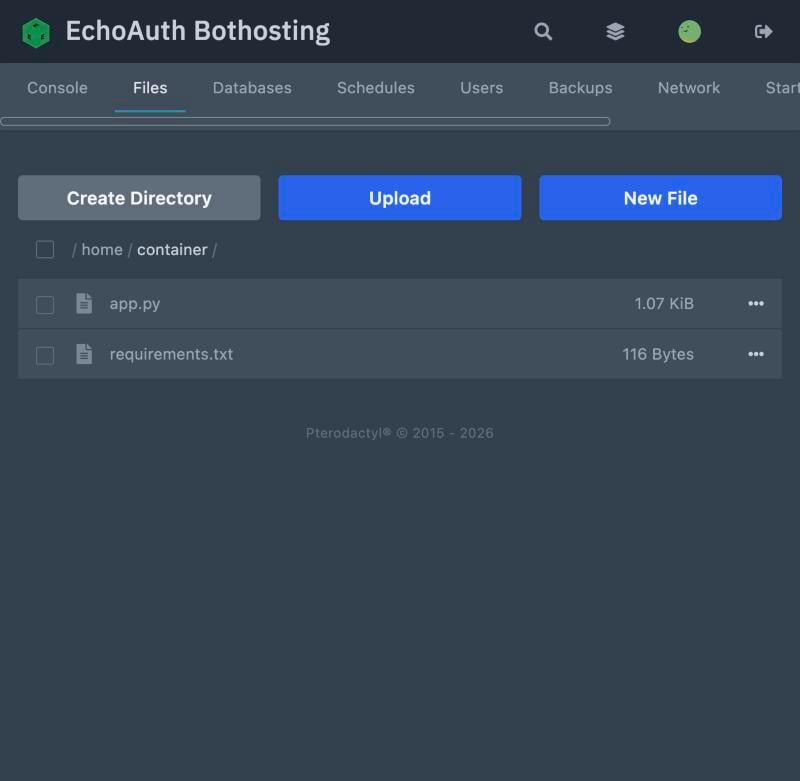
index.js uploaded and ready to run.
Start the server
Go to Console and click Start. The panel pulls the Docker image, runs your startup command, and streams the output live.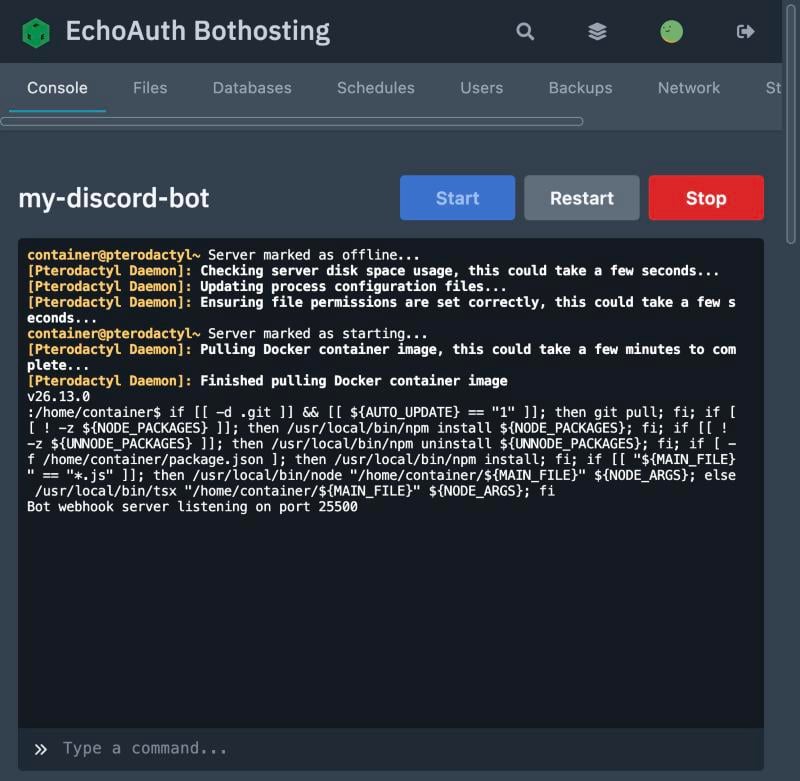
Console output right after a Node.js server starts, with the bot logging that it's listening.
Find your server’s address and port
Open the Network tab. Your server’s public address is<hostname>:<port> — for example bothosting-eu01.echoauth.dev:25500. Allowed ports are in the 25500–25650 range.
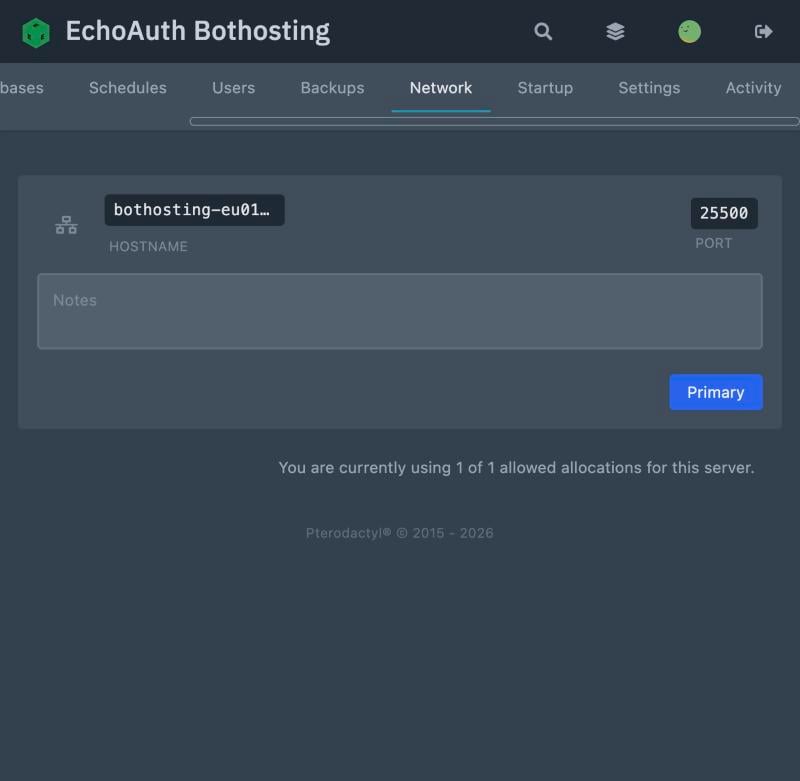
Network tab showing the server's hostname and assigned port.
Receive webhooks
There are two ways to reach your bot from the outside: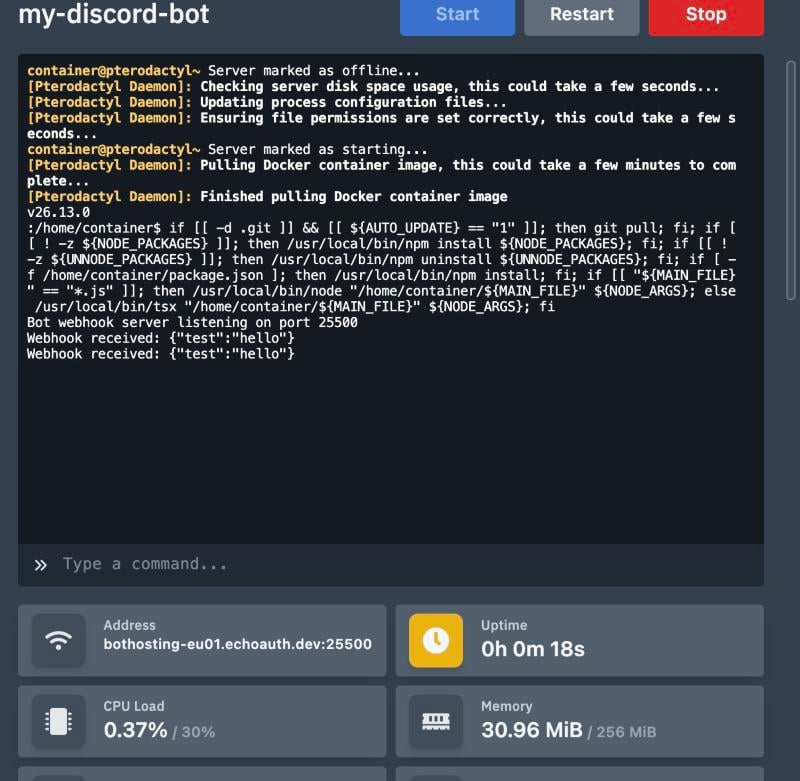
Two webhook deliveries logged live in the console, with resource stats below.
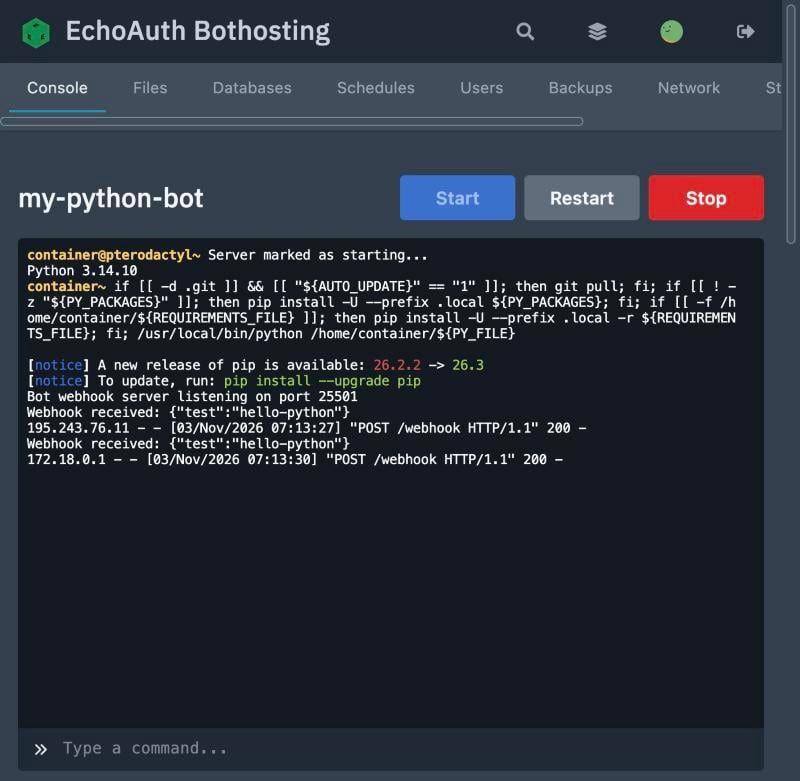
A Python bot logging a webhook received over both the direct port and the HTTPS proxy.
Manage your server
Use Restart and Stop on the Console tab to control the running process.Backups
Your Bot Container plan includes 1 backup slot. Open Backups and click Create Backup to snapshot your files.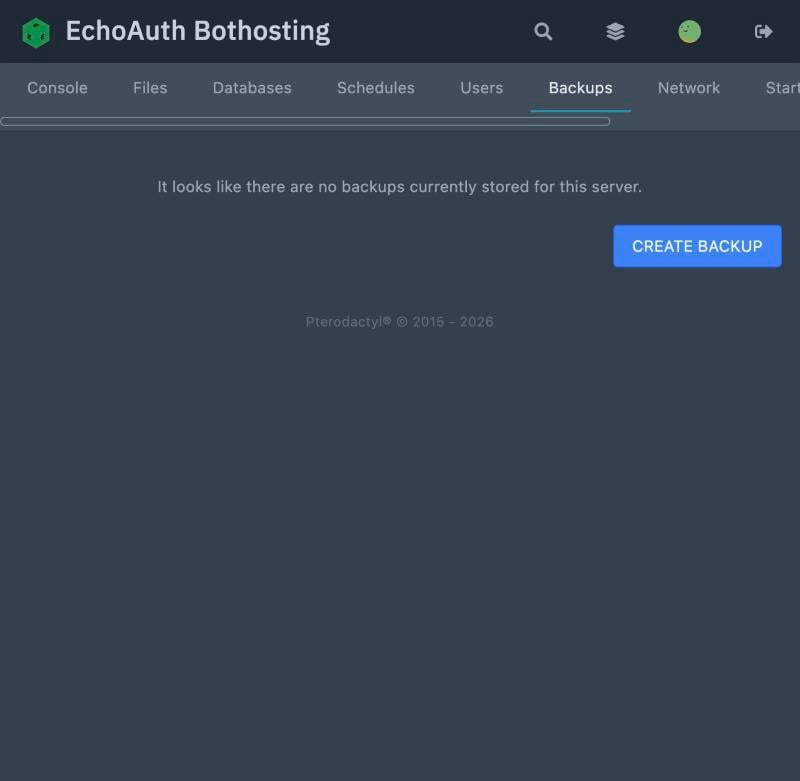
No backups yet — the Backups tab on a new server.
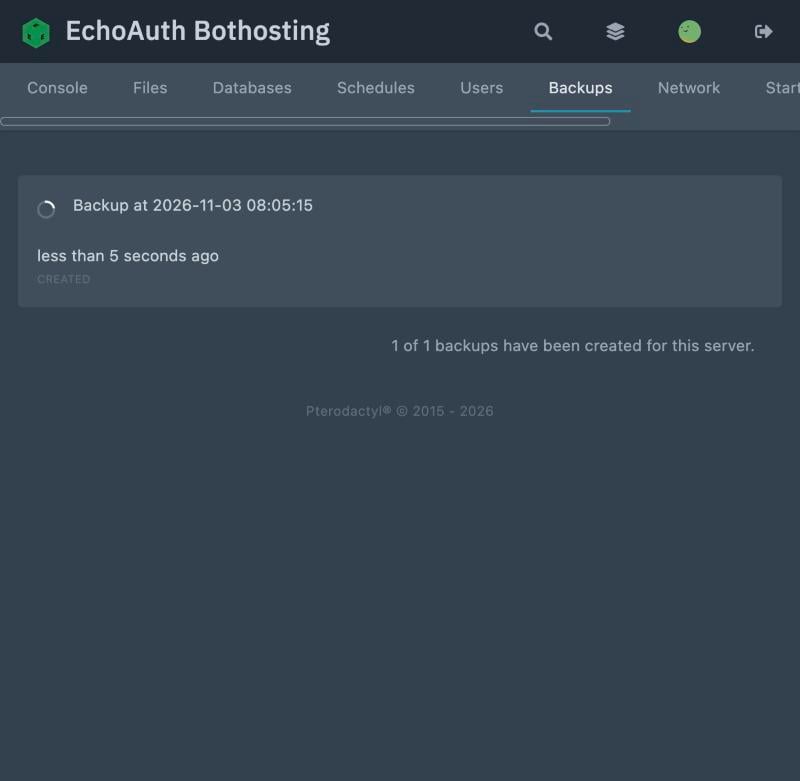
The first backup, created and ready.
Renew your license
Buy or redeem another license code the same way as Redeem your license — the added credits cover your server’s next monthly billing cycle automatically.Troubleshooting
Server won't start
Server won't start
app.py. A missing or misnamed file is the most common cause.Port not reachable
Port not reachable
25500–25650 range) is routed to your container.Webhook not arriving
Webhook not arriving
/hook/<port>/<path>) only works when your bot is listening on plain HTTP (Use HTTPS = 0 on Python). Double-check the path matches what your code expects — a typo there returns a 404 from your own server, not from EchoAuth.Still stuck?
Still stuck?
FAQ
How many servers can I run?
How many servers can I run?
Can I use TypeScript on the Node.js runtime?
Can I use TypeScript on the Node.js runtime?
.ts file and it runs via tsx instead of node.Do I need a requirements.txt on Python if I have no dependencies?
Do I need a requirements.txt on Python if I have no dependencies?
What happens if my license runs out?
What happens if my license runs out?