Go from license key to live, automated SMM order delivery in your own SellAuth shop.
EchoAuth connects your SellAuth shop to your SMM panel. When a buyer purchases a product, SellAuth calls your personal Dynamic Delivery URL, and EchoAuth places the order on your panel automatically.This guide walks you through the full setup, from buying a license to your first delivered order.
Before you start, have these ready:
A SellAuth shop with the products you want to automate
An SMM panel account with API access (API URL + API key)
A Discord webhook URL for order notifications (optional but recommended)
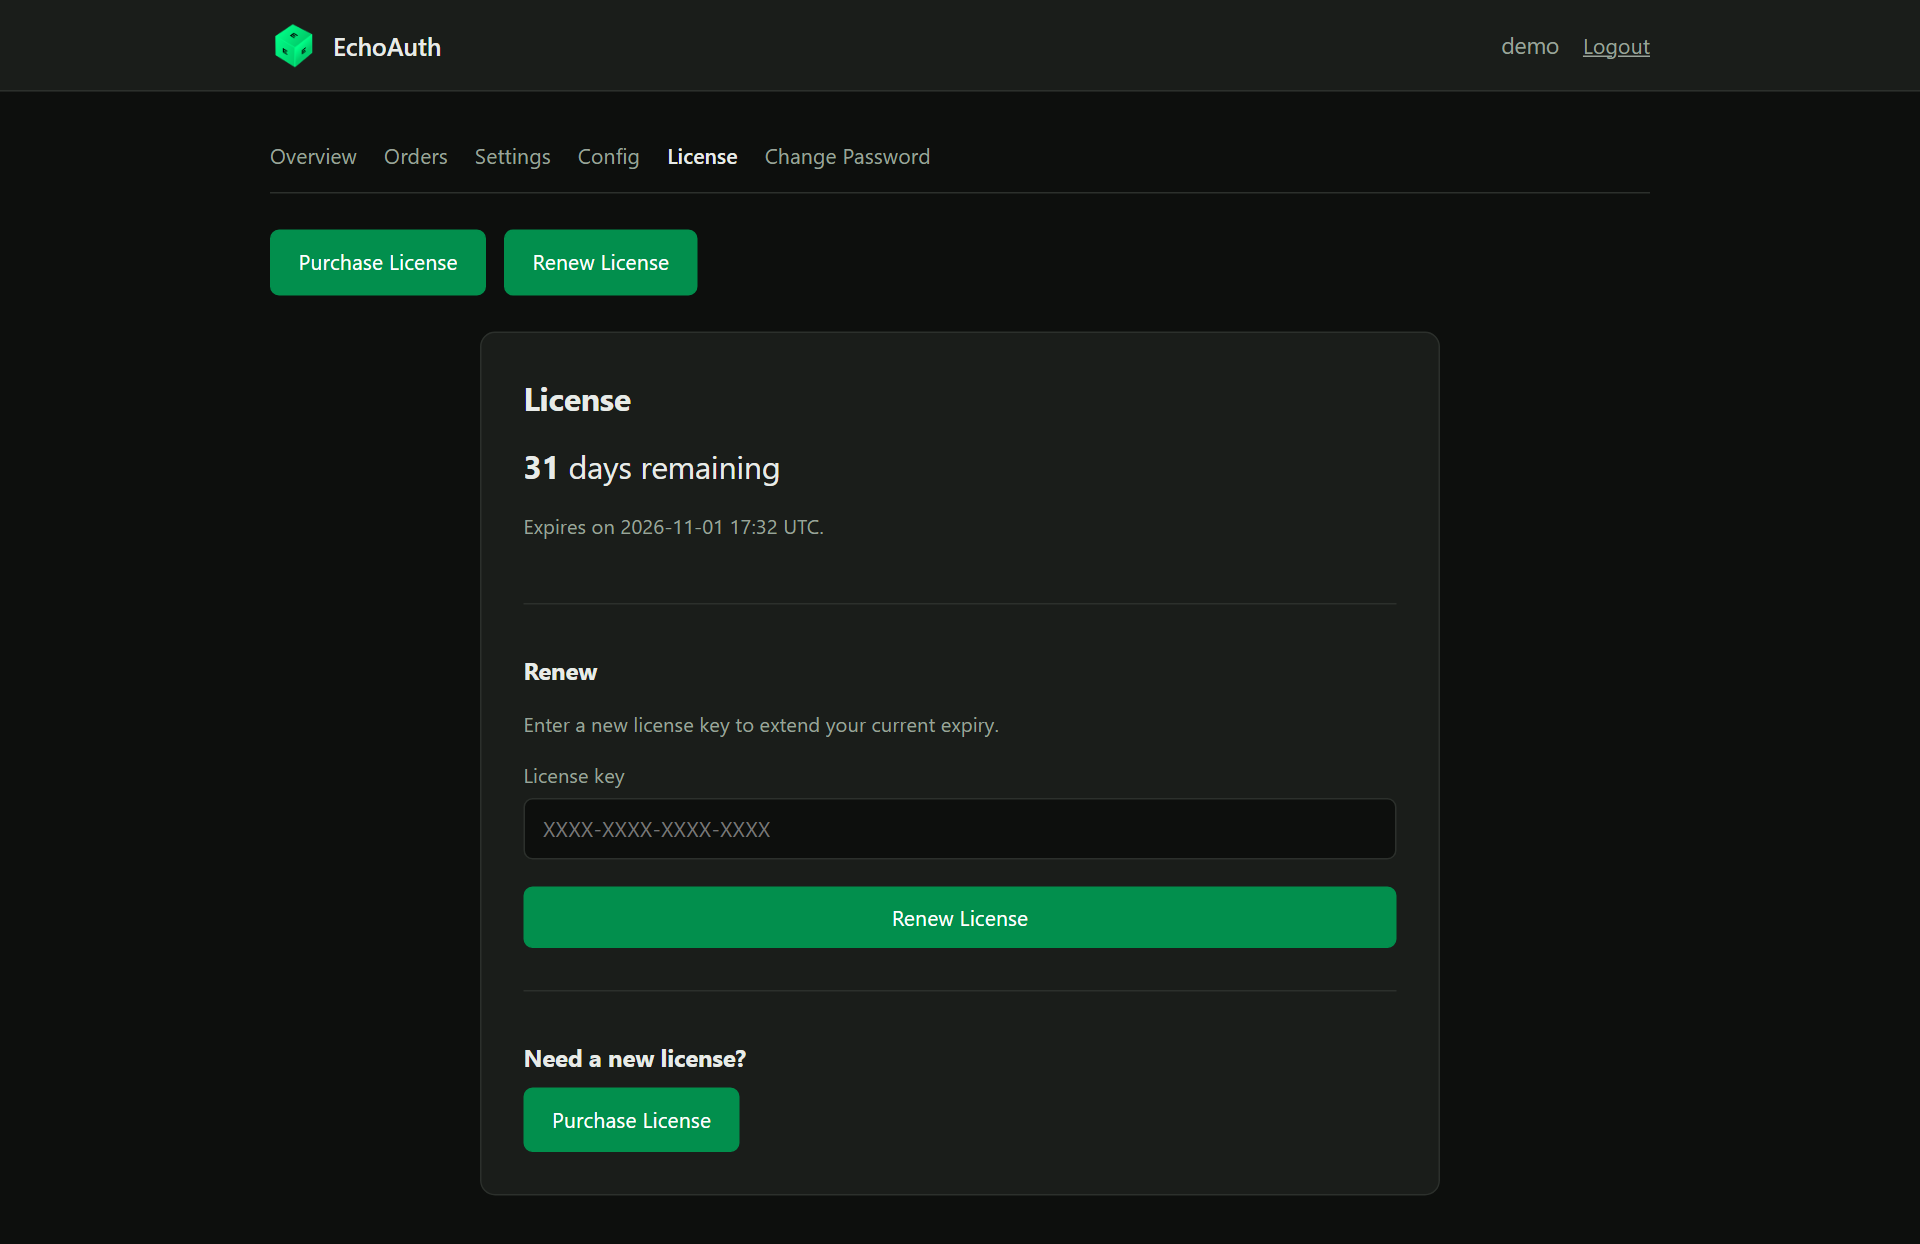
Purchase a license from the EchoAuth shop. After checkout you receive a license key — keep it handy for the next step.
Every preset license includes a +2 day setup buffer, so a 1-month license gives you 32 days.
2
Create your account
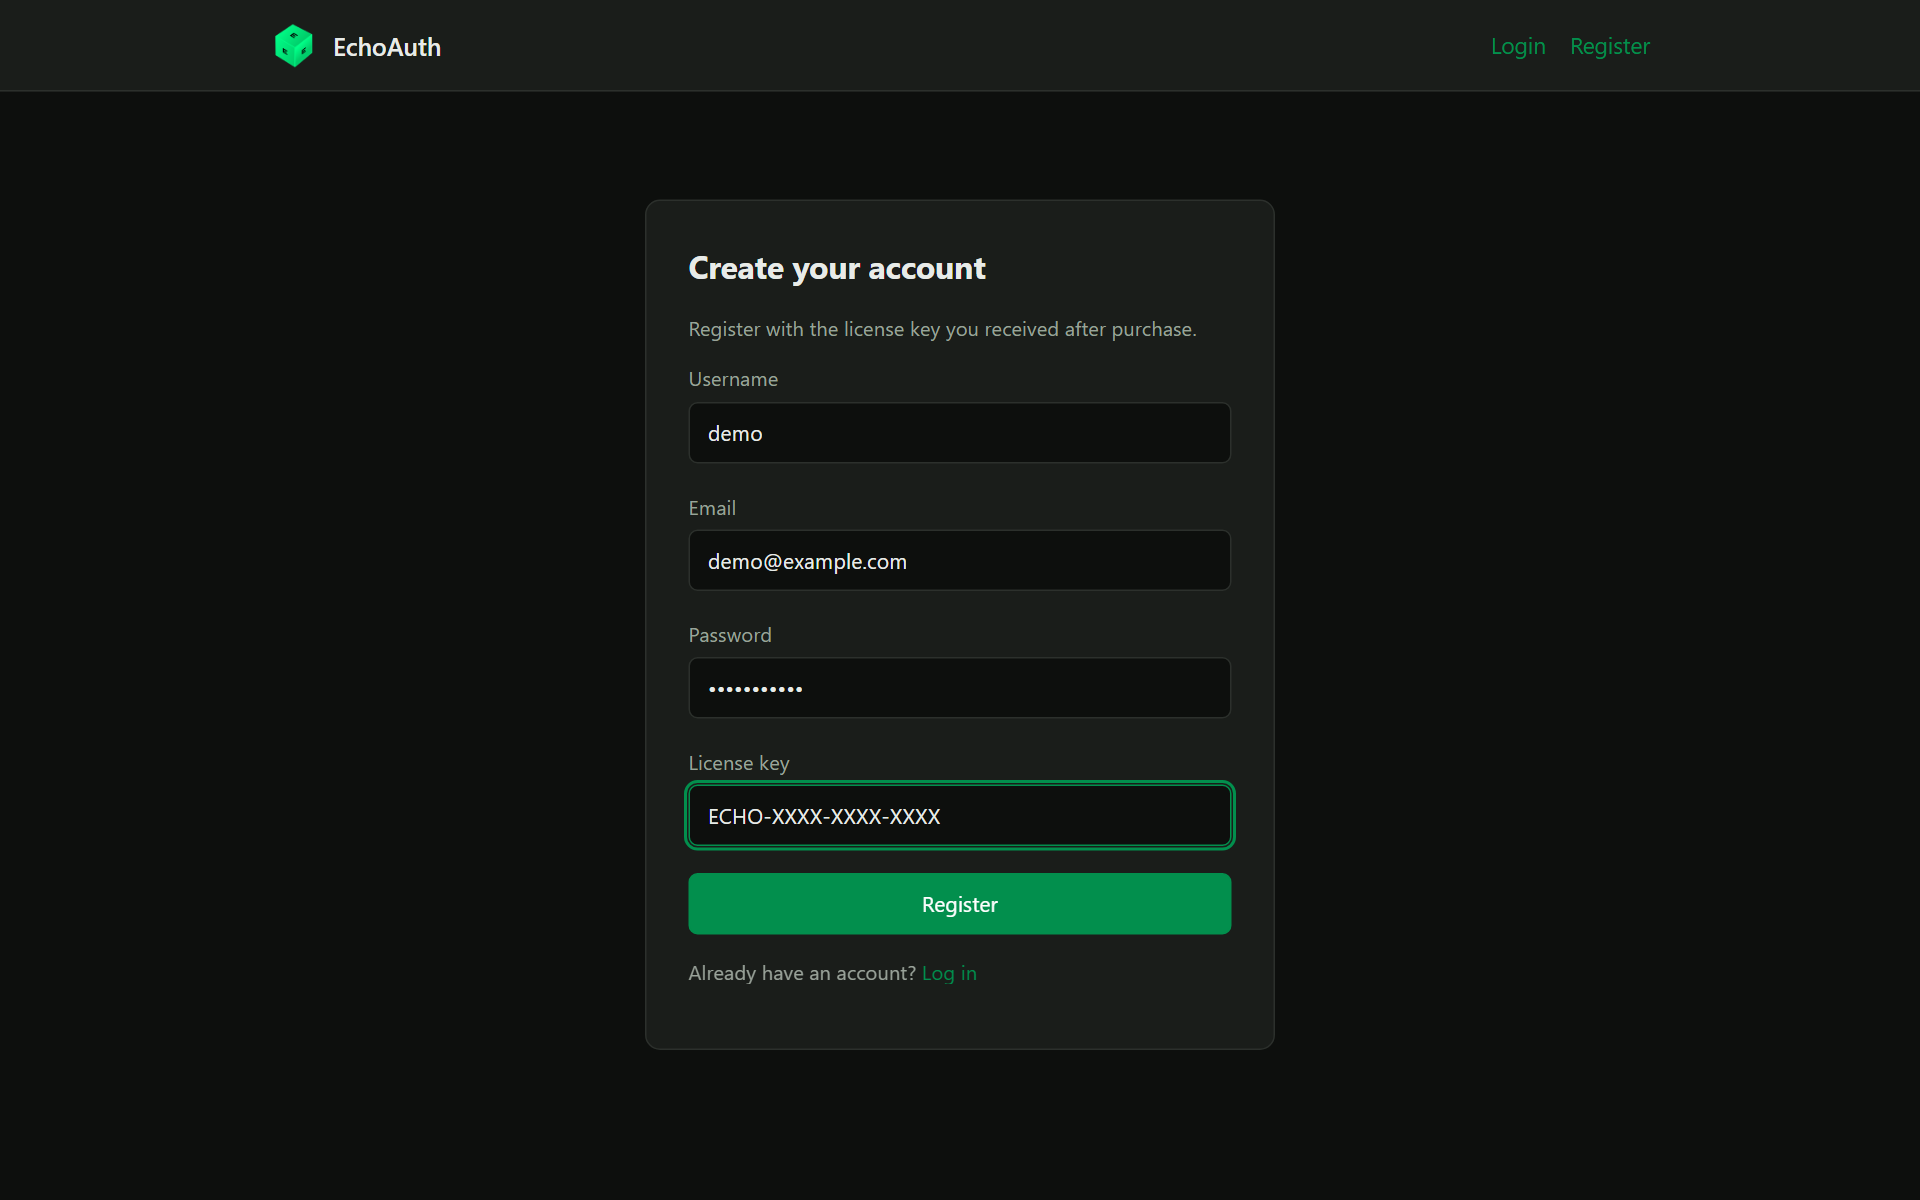
Go to the Register page and fill in a username, email, password, and the license key you just received, then click Register.
Register with the license key from your purchase.
Right after registering, EchoAuth automatically provisions your own isolated order-processor. This can take a moment.
If you see a “provisioning failed” notice, don’t worry. Finish the Settings step below, then click Rebuild on the Overview page. Contact support if it keeps failing.
3
Open your dashboard
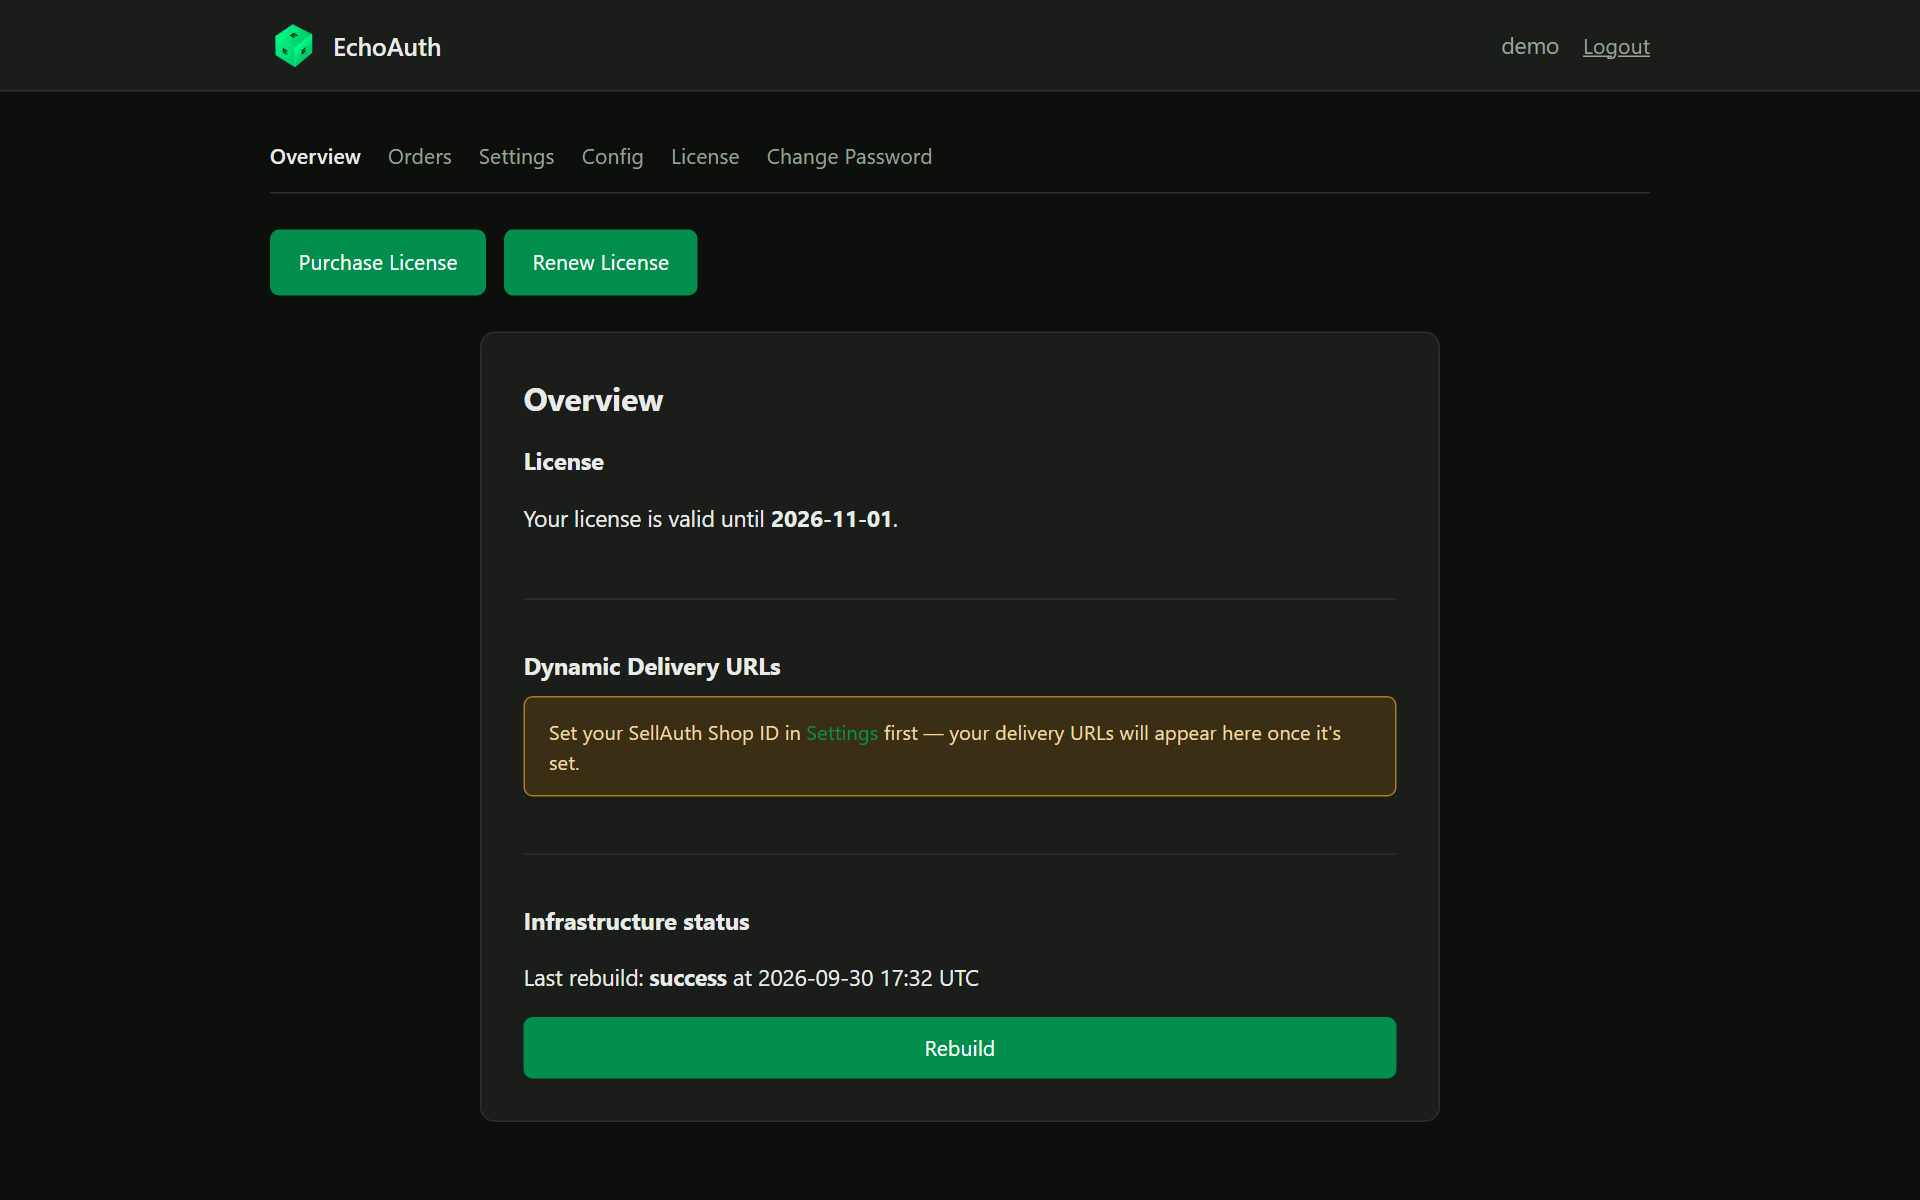
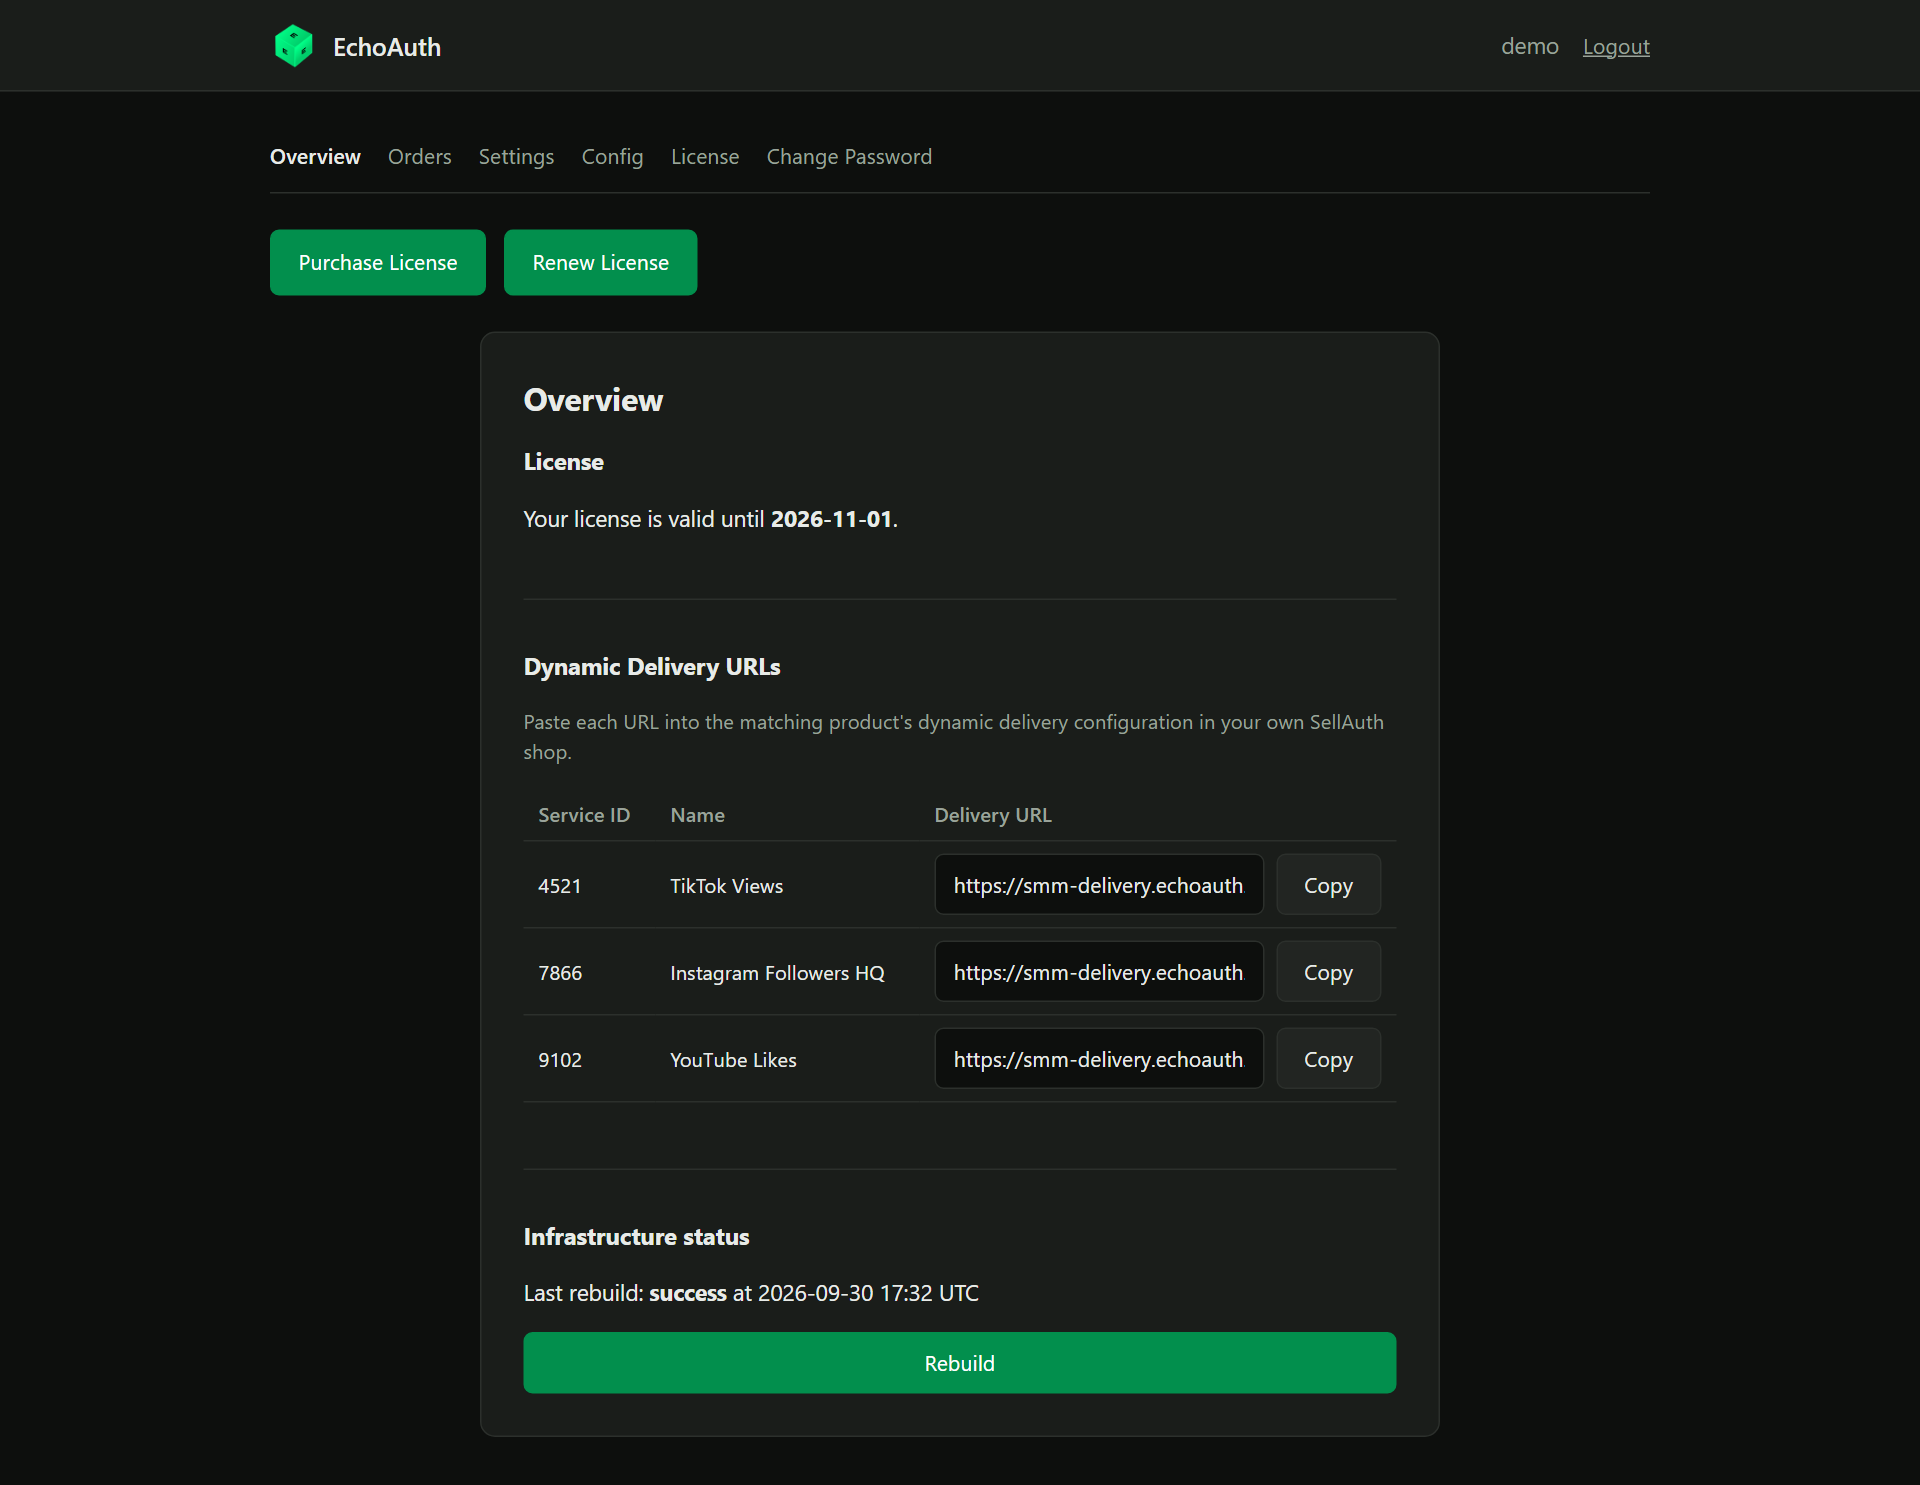
You land on the Overview page. It shows your license expiry, your Dynamic Delivery URLs, and your infrastructure status.Your delivery URLs won’t appear yet — first you need to set your SellAuth Shop ID.
A fresh account: the Overview asks you to set your Shop ID first.
4
Fill in your Settings
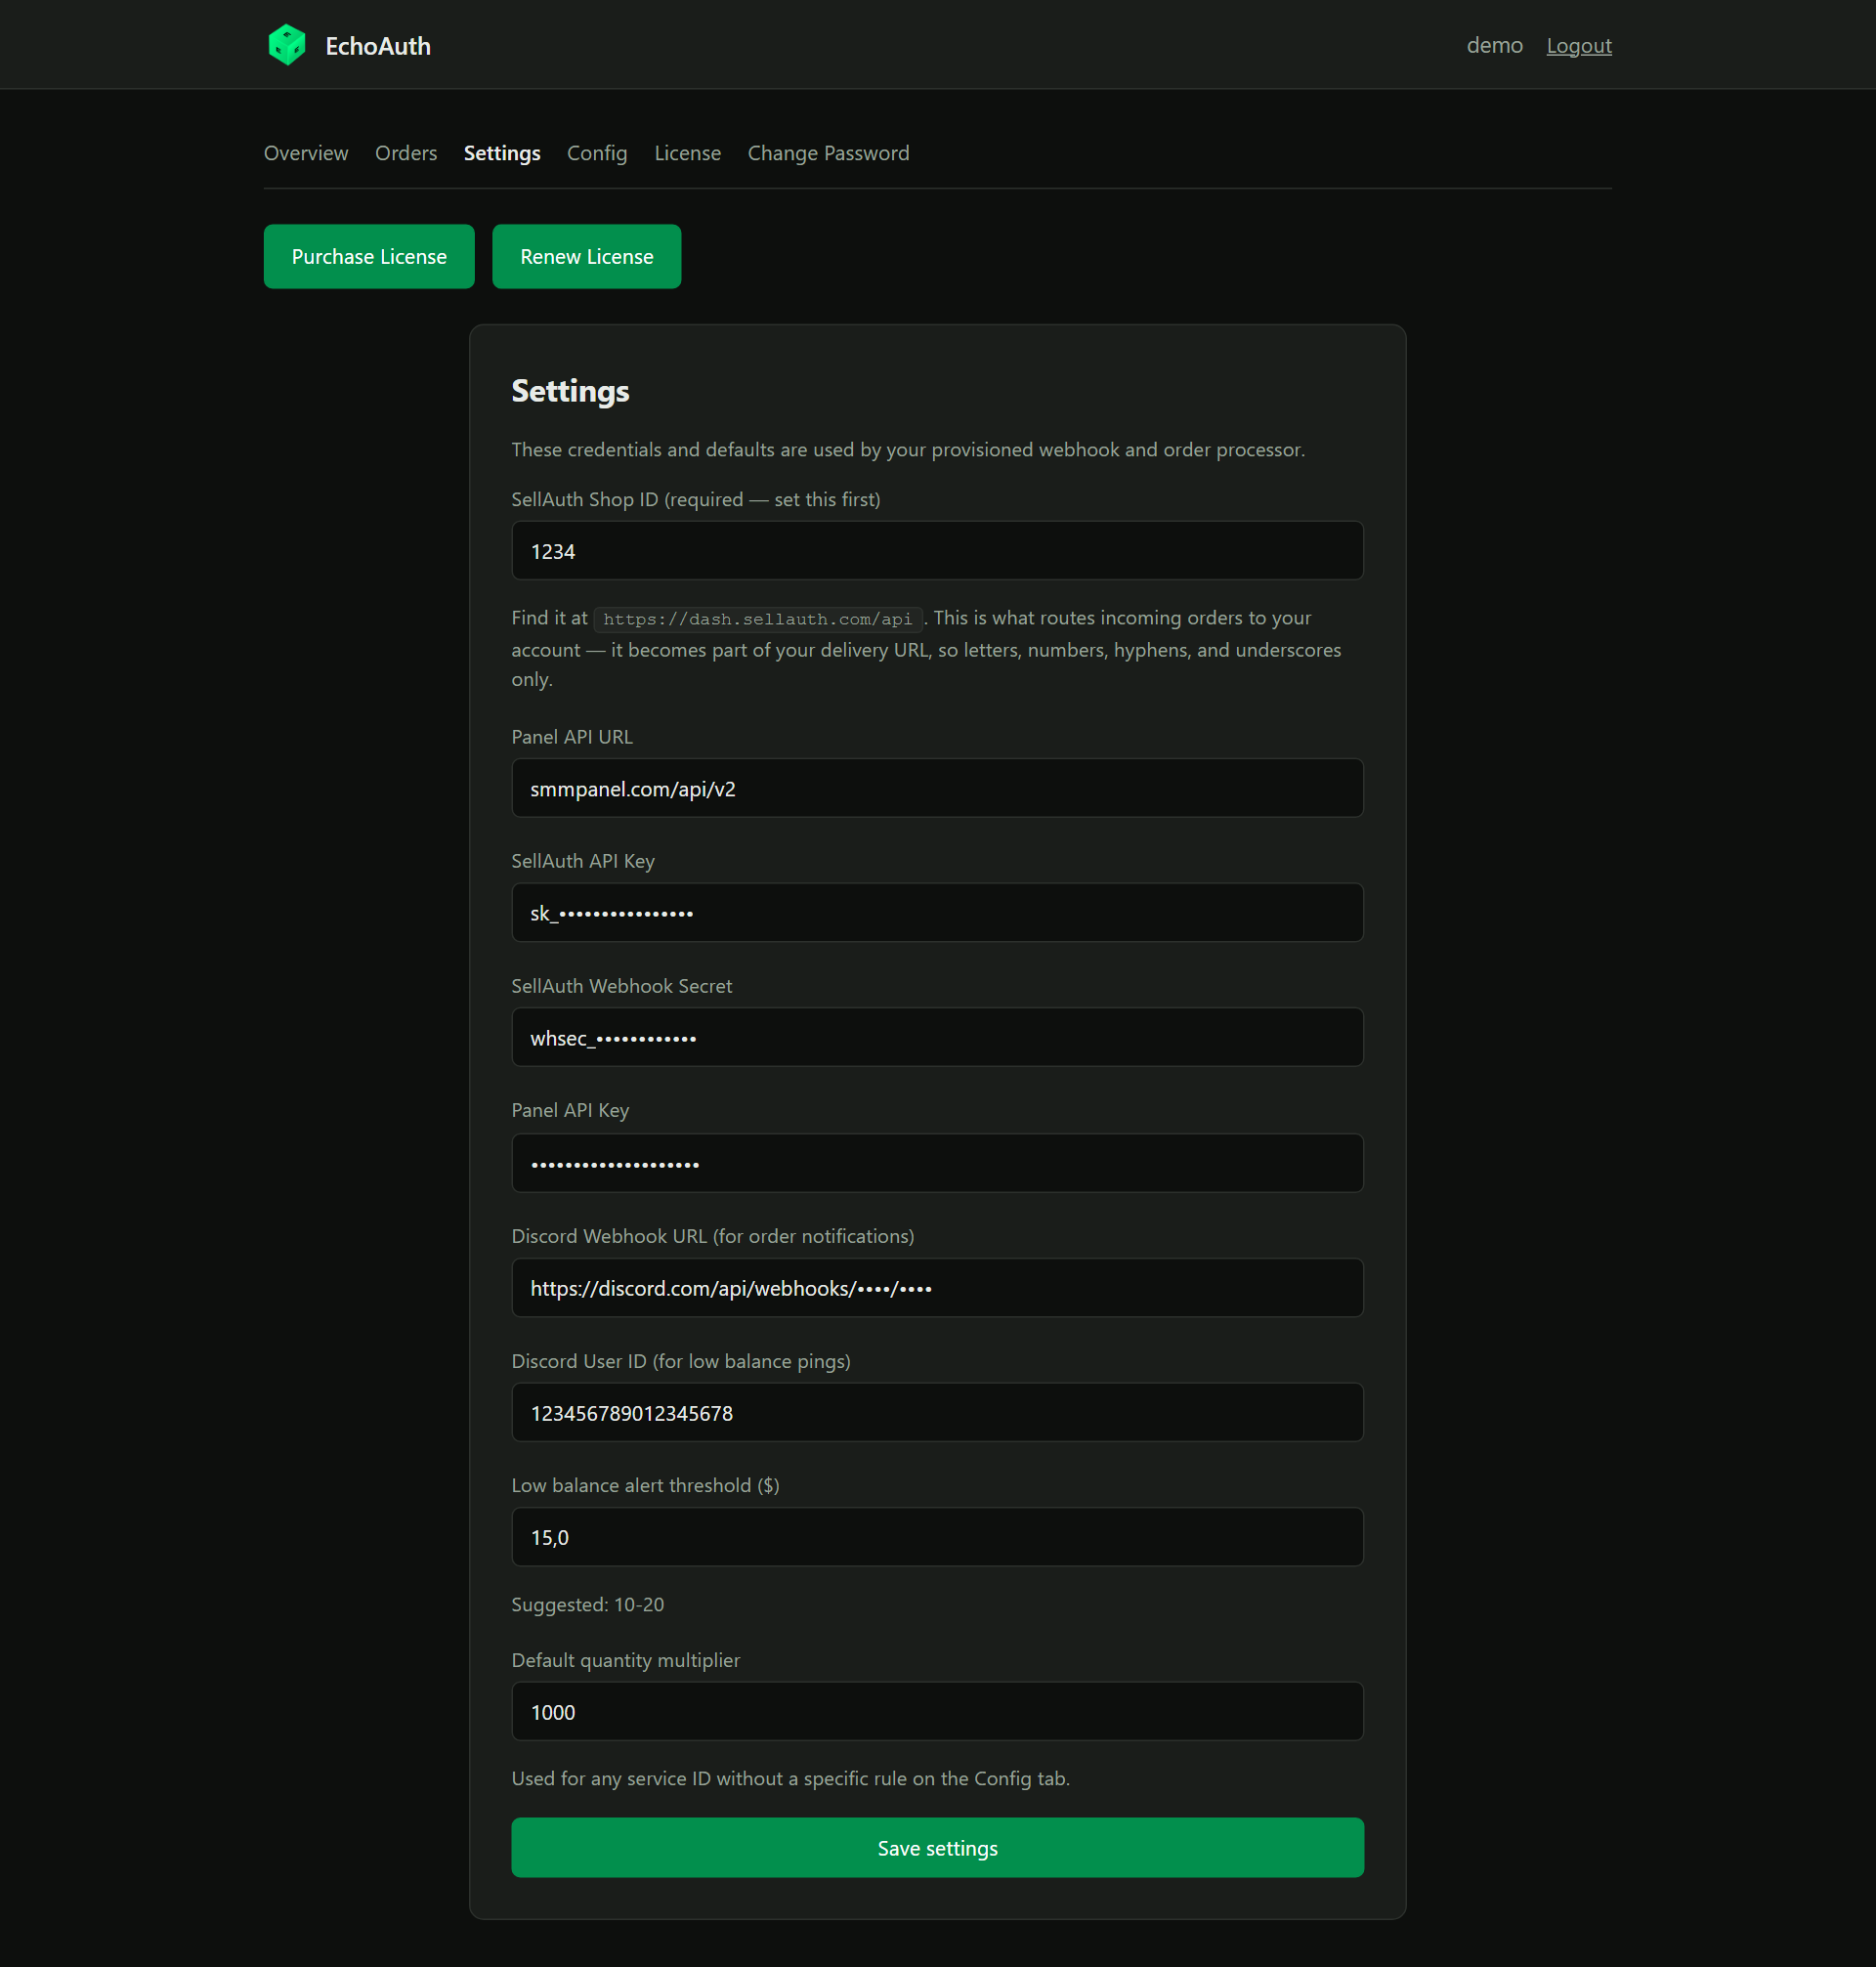
Open the Settings tab. Set your SellAuth Shop ID first — it routes incoming orders to your account and becomes part of your delivery URL (letters, numbers, hyphens and underscores only).Then fill in the rest of your credentials:
Where order notifications and license expiry warnings are sent
Discord User ID
Who gets @-mentioned on low-balance alerts
Low balance alert threshold
Suggested $10–20
Default quantity multiplier
Used for any service ID without its own rule on the Config tab
Click Save settings.
Settings filled in (secrets masked).
Panel API credentials are only picked up by your order processor after a Rebuild. You’ll do that at the end of setup.
5
Configure your services
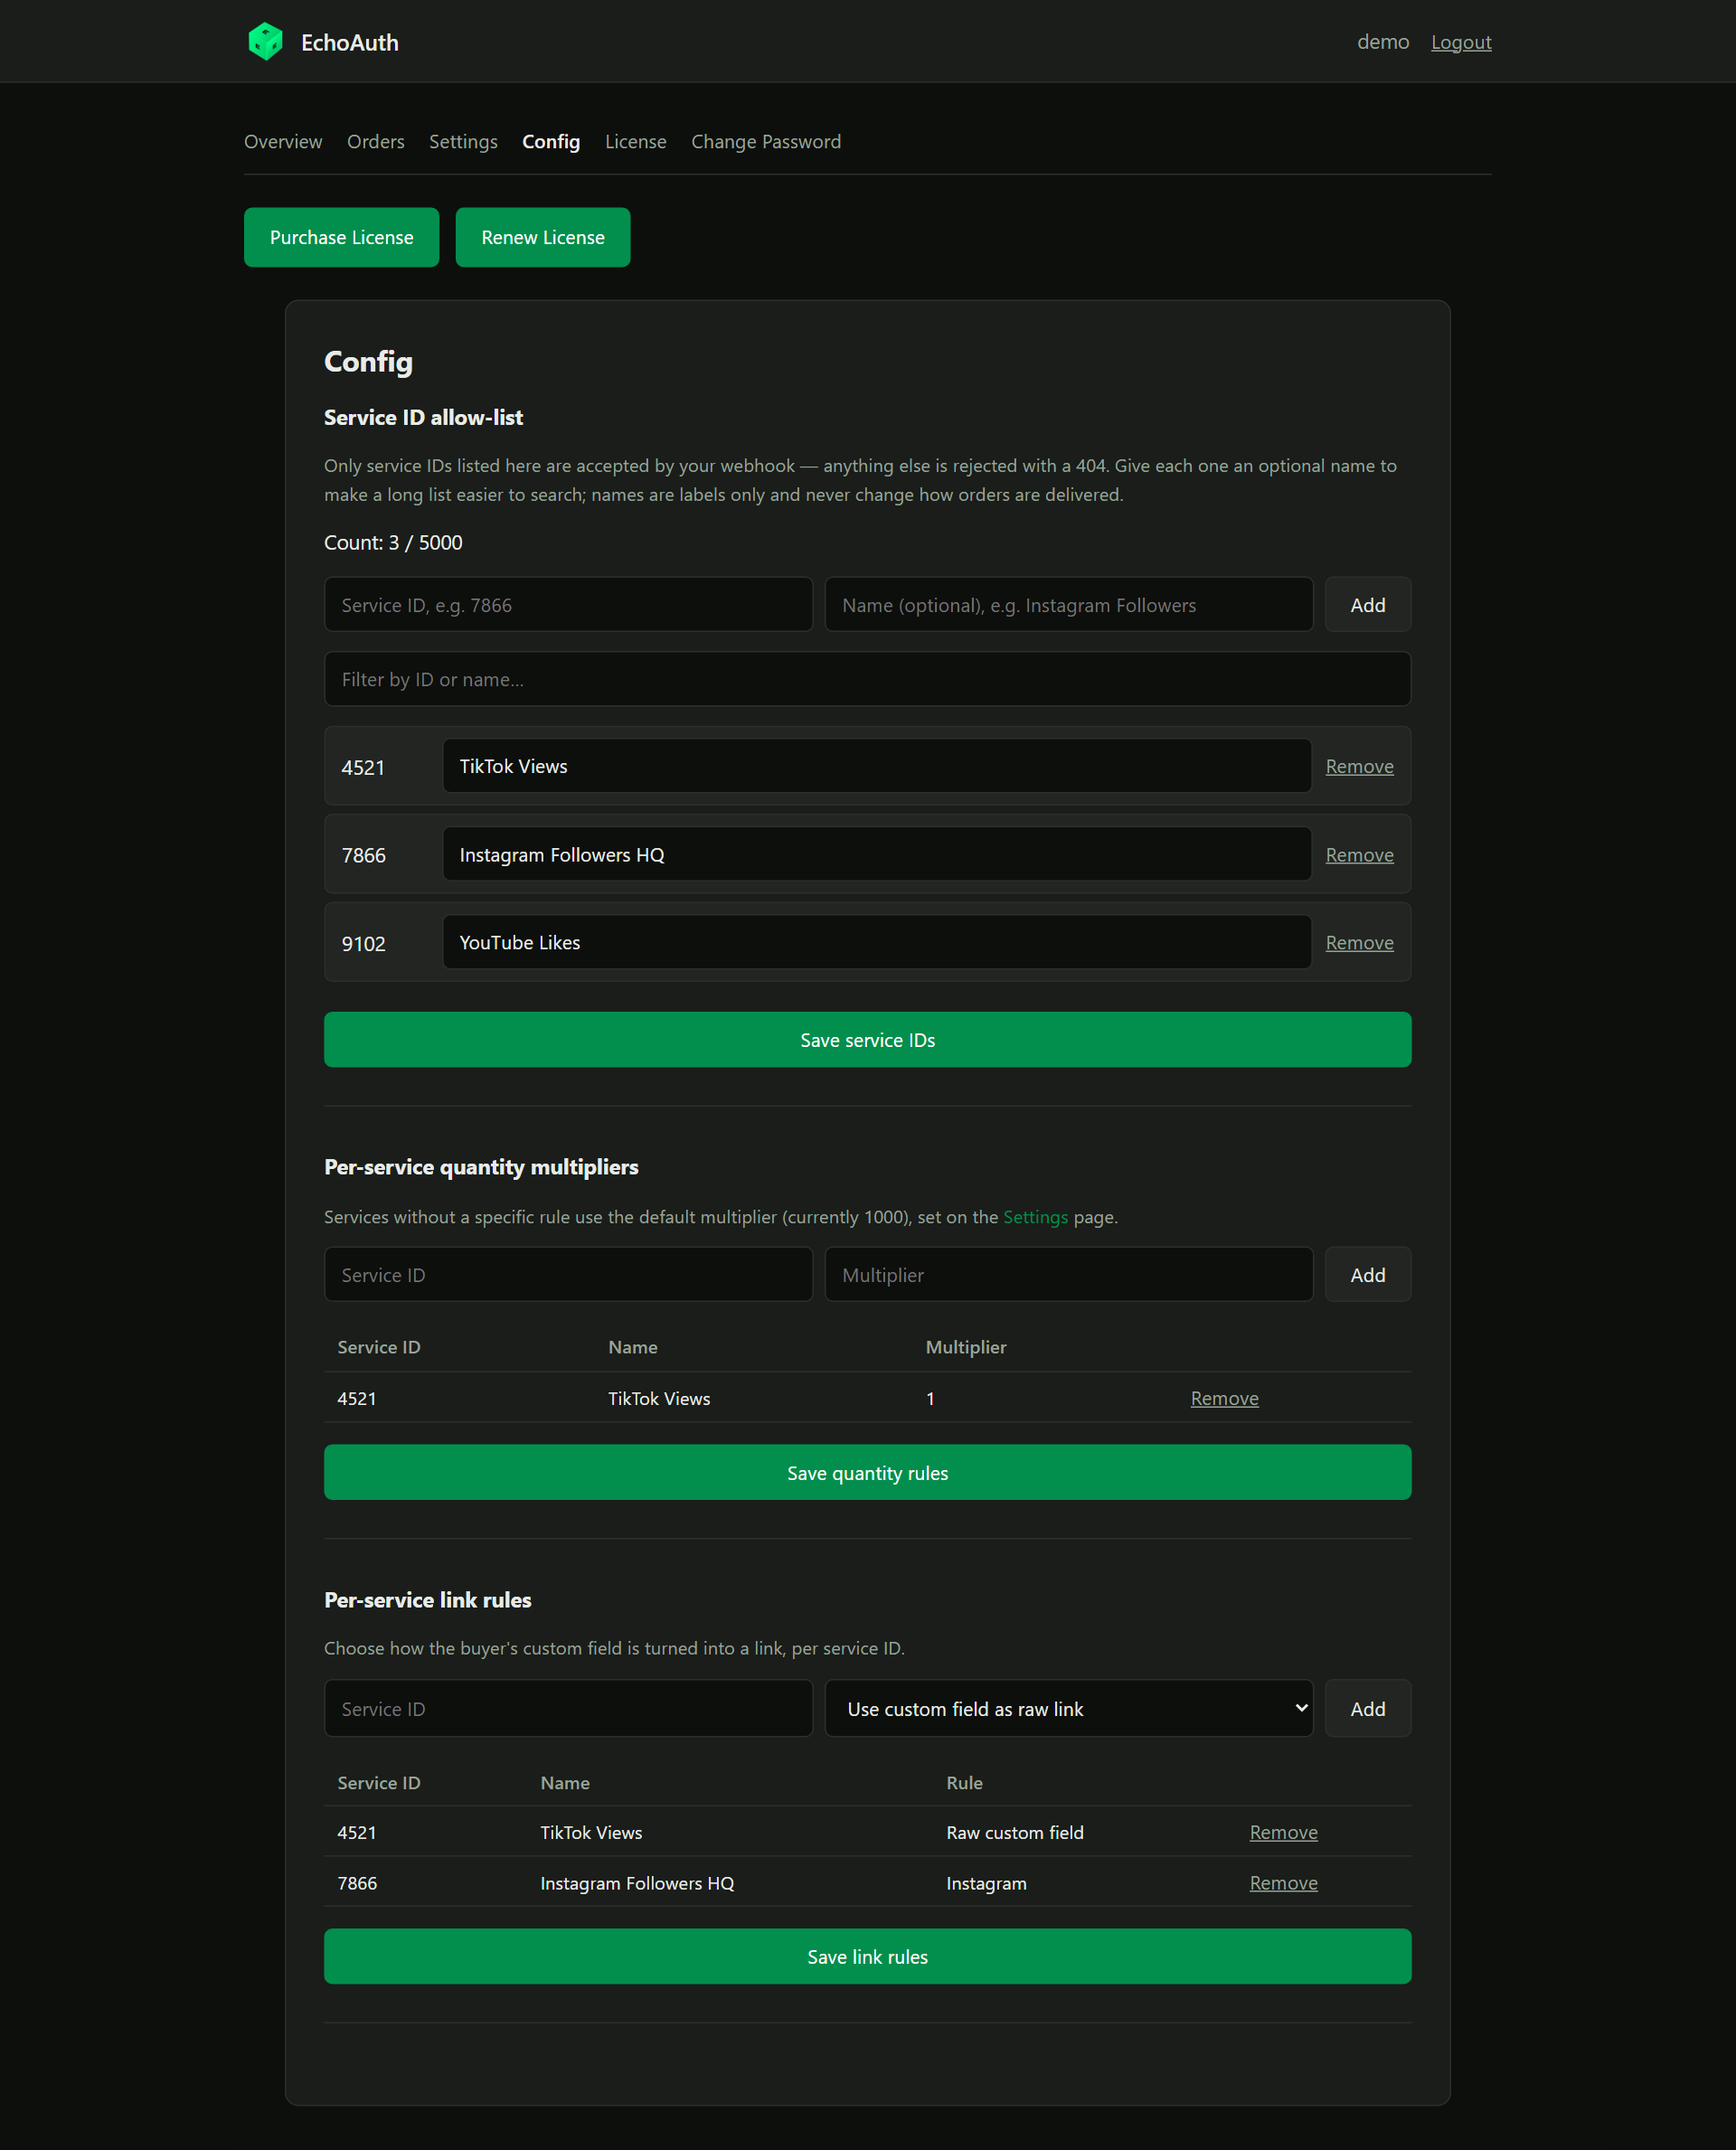
Open the Config tab. It controls how incoming orders are turned into panel orders. Each section has its own Add and Save button — nothing is stored until you click Save.
Config tab with three service IDs, a quantity rule and two link rules.
Service ID allow-list (required)
Add every panel service ID you sell (up to 5,000). Any order for a service ID not on this list is rejected. Give each one an optional name (e.g. “Instagram Followers HQ”) to keep long lists searchable — names are labels only.Click Save service IDs. Takes effect immediately.
Per-service quantity multipliers
Some panels count quantity in different units (e.g. 1 unit = 1000 followers). Set a multiplier per service ID. Anything without a rule uses the default multiplier from Settings.Click Save quantity rules. Takes effect immediately.
Per-service link rules
Choose how the buyer’s custom field becomes a link:
A platform (Instagram, YouTube, TikTok, Twitch, X, Kick, Threads) — the buyer’s username is turned into the right profile URL automatically.
Use custom field as raw link — the buyer provides the full link themselves.
Click Save link rules. Requires a Rebuild to apply.
6
Rebuild
Go back to Overview and click Rebuild. This pushes your Settings and link rules to your running order processor. Check that Infrastructure status shows success.
7
Connect your SellAuth products
The Overview page now lists one Dynamic Delivery URL per service ID. Each has the format: